Some time ago I wrote “A 10,000‑word Long Article Explaining: Team Implementation of AI‑Assisted Programming and AI Specs in Practice.” The core of that article discussed common issues when companies adopt AI‑assisted programming. It showed how to introduce Spec to achieve specification‑driven development using Kiro, and also explained the practical process. However, that article is very long and heavily depends on Kiro. For people using Clauda Code, Cursor, or OpenCode, the migration cost is quite high.
Article link: https://www.cnblogs.com/whuanle/p/19469026
Based on this background, I took some time to write this practical tutorial based on OpenSpec + OpenCode.
The article “A 10,000‑word Long Article Explaining: Team Implementation of AI‑Assisted Programming and AI Specs in Practice” mainly focuses on the concepts. Kiro itself is not important. This article focuses on implementation examples and how to build a program from scratch. The two articles do not conflict. It is recommended to read the long article first, then this one.
Why is OpenSpec + OpenCode suitable for real adoption?
There are many AI coding assistant tools on the market now. Leading the way is the unconventional Clauda Code, along with command‑line tools such as Codex, Kimi Code CLI, Roo Code, etc. For IDE‑based interaction there are Kiro, VS Code, Cursor, and others. Therefore, a Spec tool should not strongly depend on a specific AI coding assistant. For example, Kiro Spec can only be used inside Kiro, and migrating to other AI coding tools later comes with high cost.
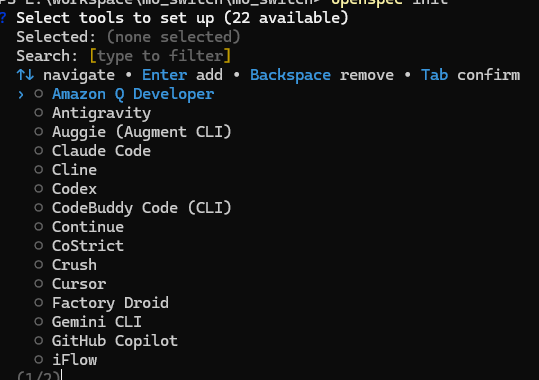
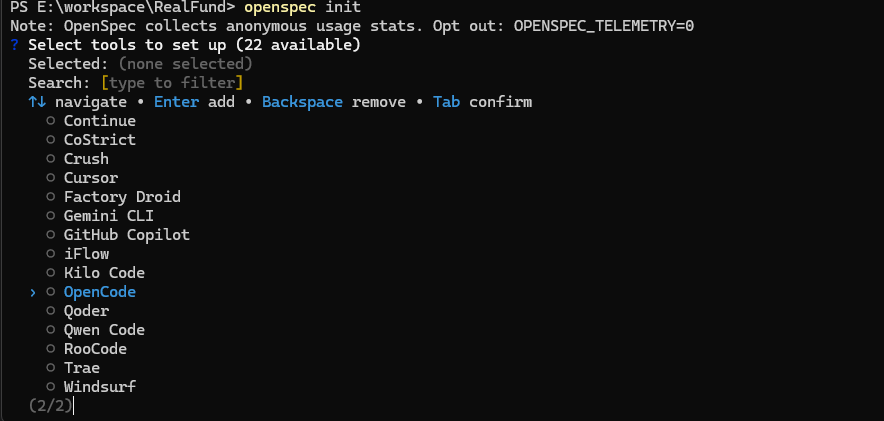
OpenSpec is a pure Spec tool. It is an open‑source project driven by the community and supports integration with 22 different tools.
Because AI coding tools differ greatly in interaction style, intelligence level, and delivery capability, developers will also have different experiences and habits. Therefore, there is no need for a team to restrict itself to a single tool. For example, the author likes to combine multiple tools together. Since OpenSpec supports many tools, a project can be developed across these tools simultaneously, avoiding Spec migration when switching to another coding tool.
The reason this article uses OpenCode is that OpenCode is also open source. It supports many models and allows custom integration with different model providers. Unlike Kiro or Cursor, you do not need to pay for official subscription plans. Therefore, it is also suitable for demonstration and can serve as a main tool for teams.
Next, using the development of a real‑time fund valuation program as an example, this article will explain how to implement AI Specs. However, this article will not focus on team‑level adoption principles or theory; it simply demonstrates how to use OpenSpec + OpenCode.
Planning the Project
A development project should have a clear description. You cannot simply say: “I want a real‑time fund valuation program.” Of course, when developing a personal project, there is no need to write extensive requirement documents, since there are not many business scenarios involved. The goal of personal projects is to satisfy personal needs rather than professional domain business requirements. Therefore, we can use OpenCode’s plan feature or OpenSpec’s explore feature to help generate task planning.
Although AI is powerful, you still need to think about it yourself: what features are needed for a real‑time fund valuation program? Copy!
Find a program you think is good, observe how it works, and then organize the features you want.
This article was written on Thursday, February 5, 2026. A true “Crazy Thursday”—the losses were enormous.
Below are some requirements manually written by the author.
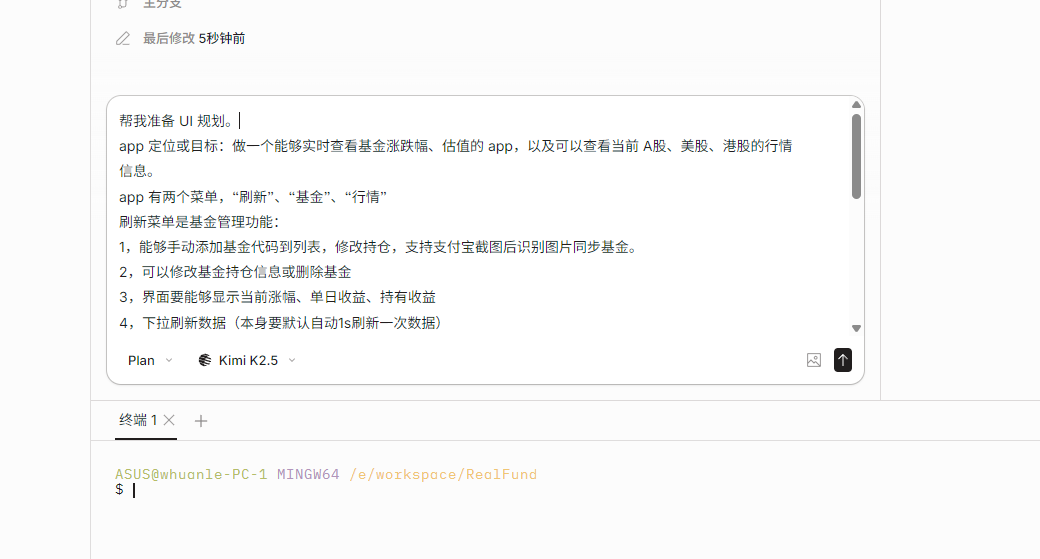
App positioning or goal: build an app that can display real-time fund rise/fall percentages and valuation, and also view current market information for A-shares, US stocks, and Hong Kong stocks.
The app has two menus: "Refresh", "Funds", and "Market".
The Refresh menu is for fund management:
1. Allow manually adding fund codes to a list and editing holdings. Support recognizing Alipay screenshots to sync funds.
2. Allow editing or deleting fund holding information.
3. The interface should display current increase percentage, daily profit, and holding profit.
4. Pull down to refresh data (it should automatically refresh every 1 second by default).
5. Clicking a specific fund jumps to the "Funds" menu.
The Funds function is for viewing detailed fund information:
The purpose is to see various information about a fund so that I can evaluate the market trend and decide whether to rebalance.
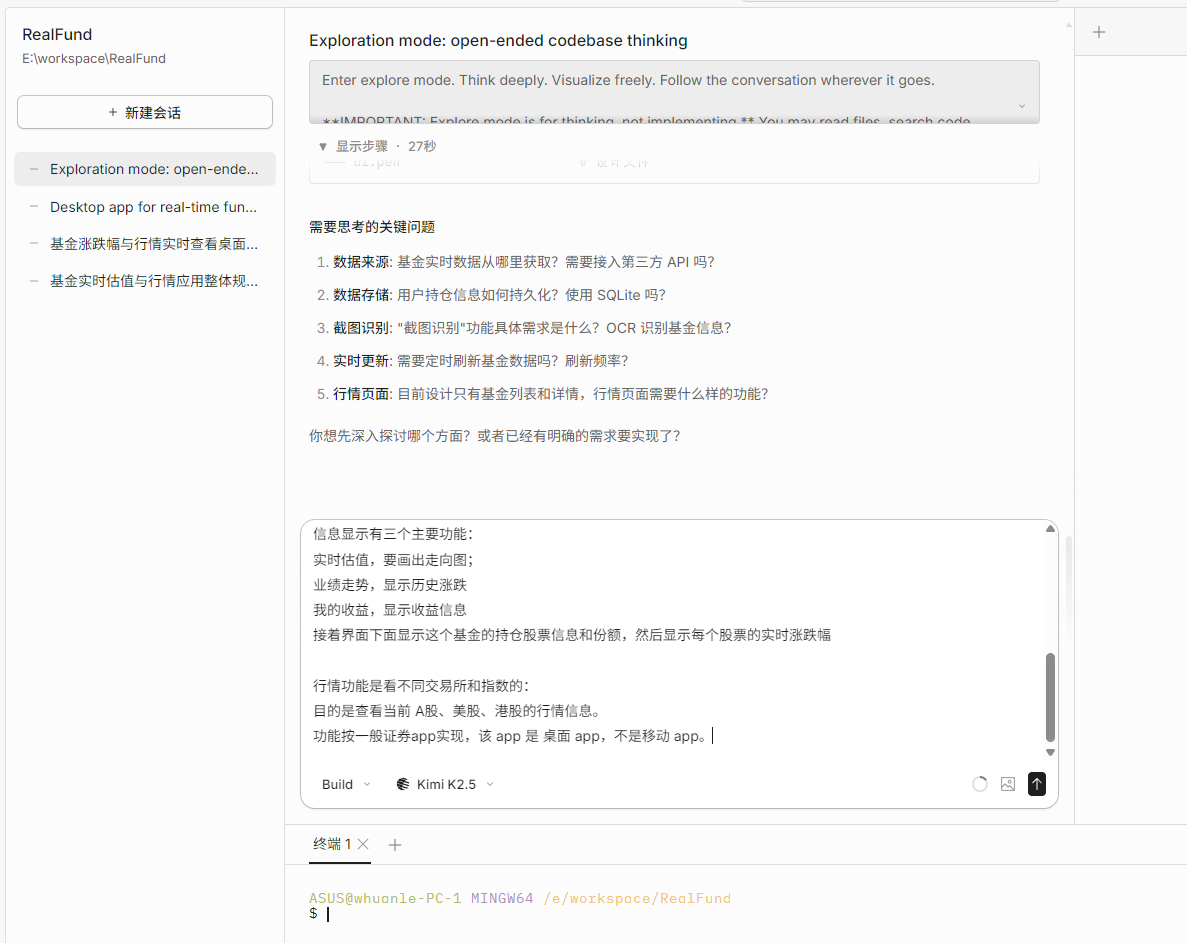
Information display has three main features:
Real-time valuation with a trend chart;
Performance trend showing historical rises and falls;
My earnings showing profit information.
Below the interface, display the stock holdings of the fund and their proportions, then display the real-time rise/fall percentage of each stock.
The Market function is used to view different exchanges and indices:
The purpose is to view current market information for A-shares, US stocks, and Hong Kong stocks.
The functionality should follow typical securities apps. This app is a desktop app, not a mobile app.
After deciding what features you want, you also need to list the technical solution.
Do you still need to design a solution yourself when you have AI?
In the author's opinion, yes. For example, where will the fund valuation data come from? If you have no idea and do not research beforehand, AI might give you a solution that scrapes securities company web pages. This solution may provide outdated data, consume significant processing time, and could even lead to legal trouble if the crawler is written poorly. Therefore, it is necessary to study and research technical solutions yourself, evaluating implementation difficulty, performance, and potential risks.
However, you can still leverage AI’s planning capability to greatly reduce the time spent on technical research and writing technical proposals, which will be mentioned later.
For example, the most important thing for this program is the data source. Paying for data is impossible—so we must rely on free sources.
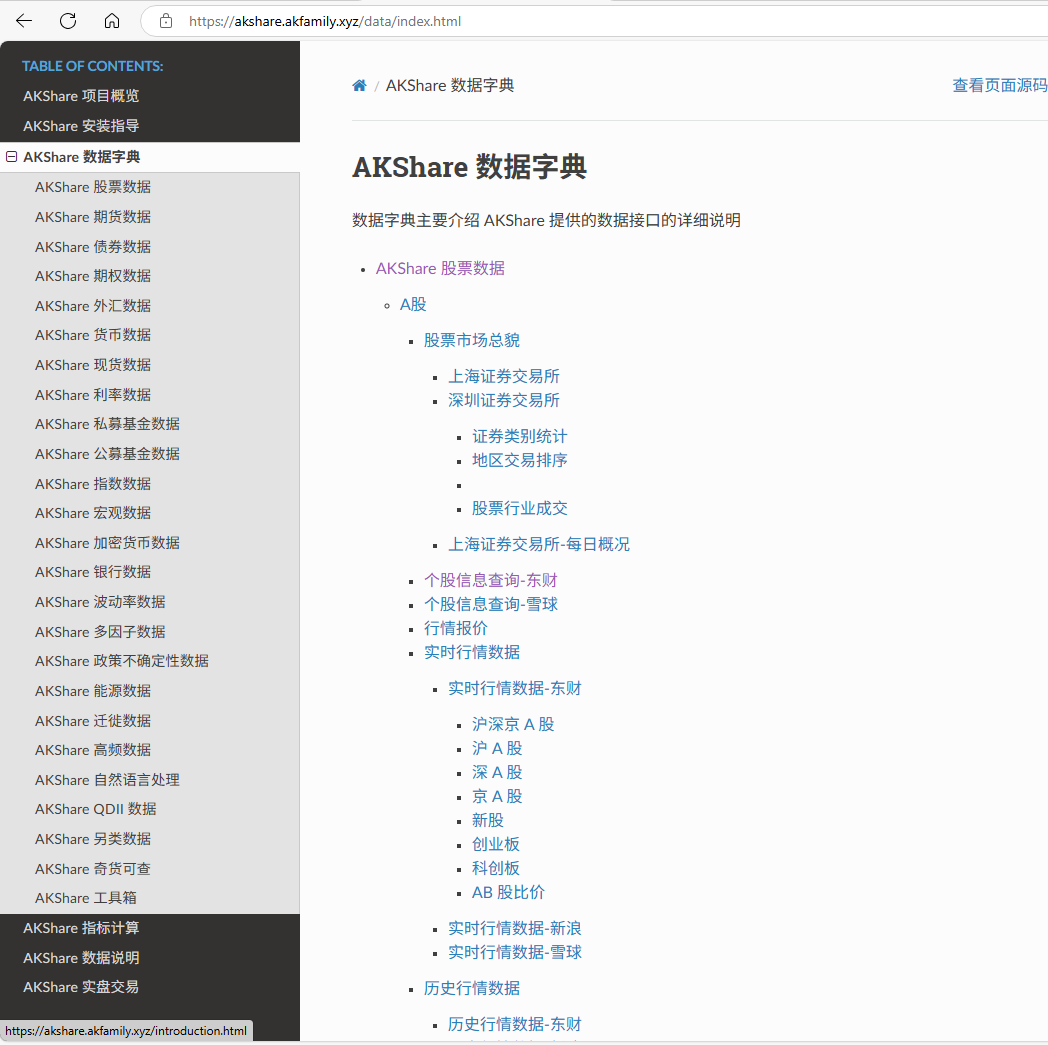
After researching some materials, the author chose the open‑source project akshare, which already integrates multiple data sources and collection strategies, with very complete APIs.
Project address: https://github.com/akfamily/akshare
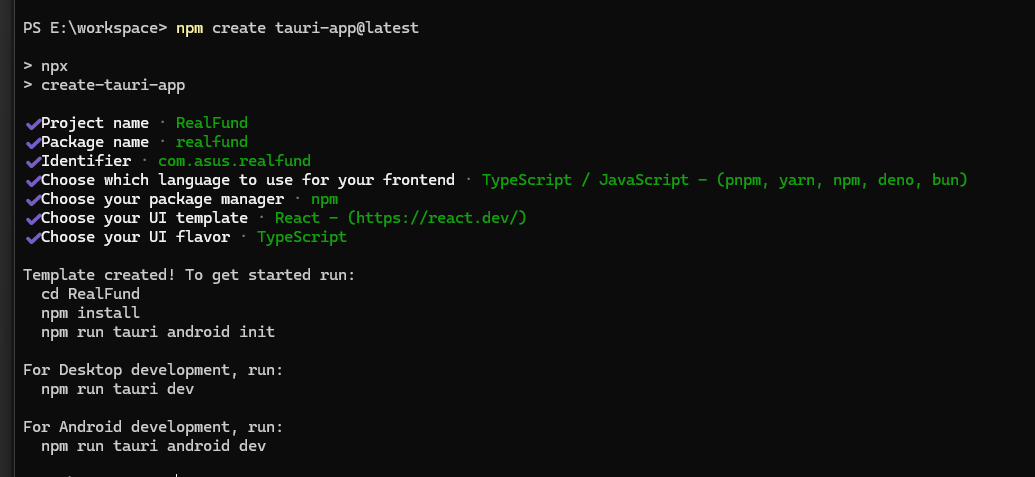
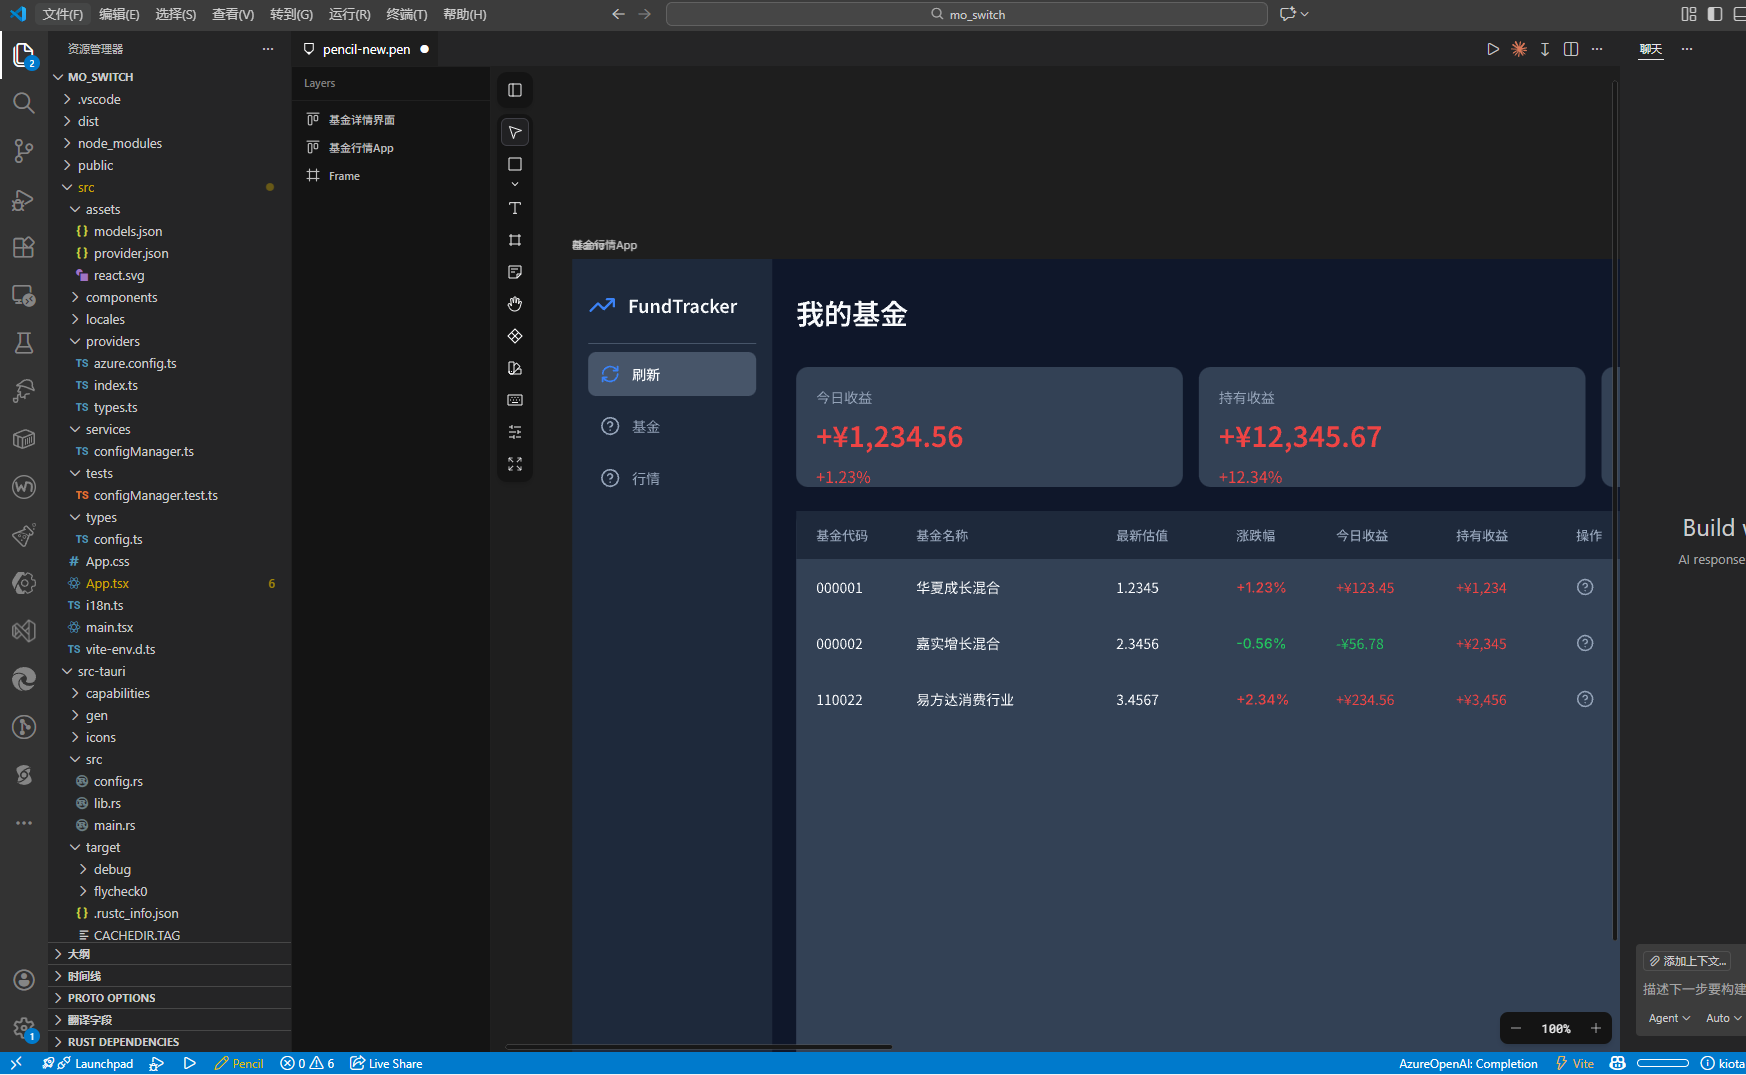
Now that everything necessary has been considered, create a project template using tauri, and all subsequent development will be done within this project.
npm create tauri-app@latest
Designing the UI
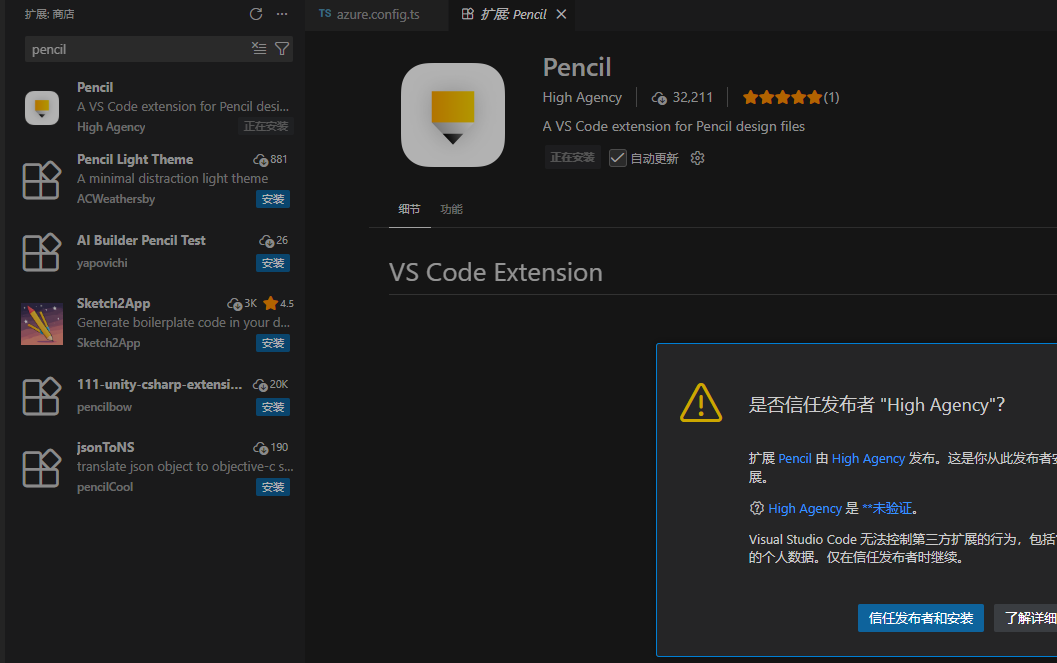
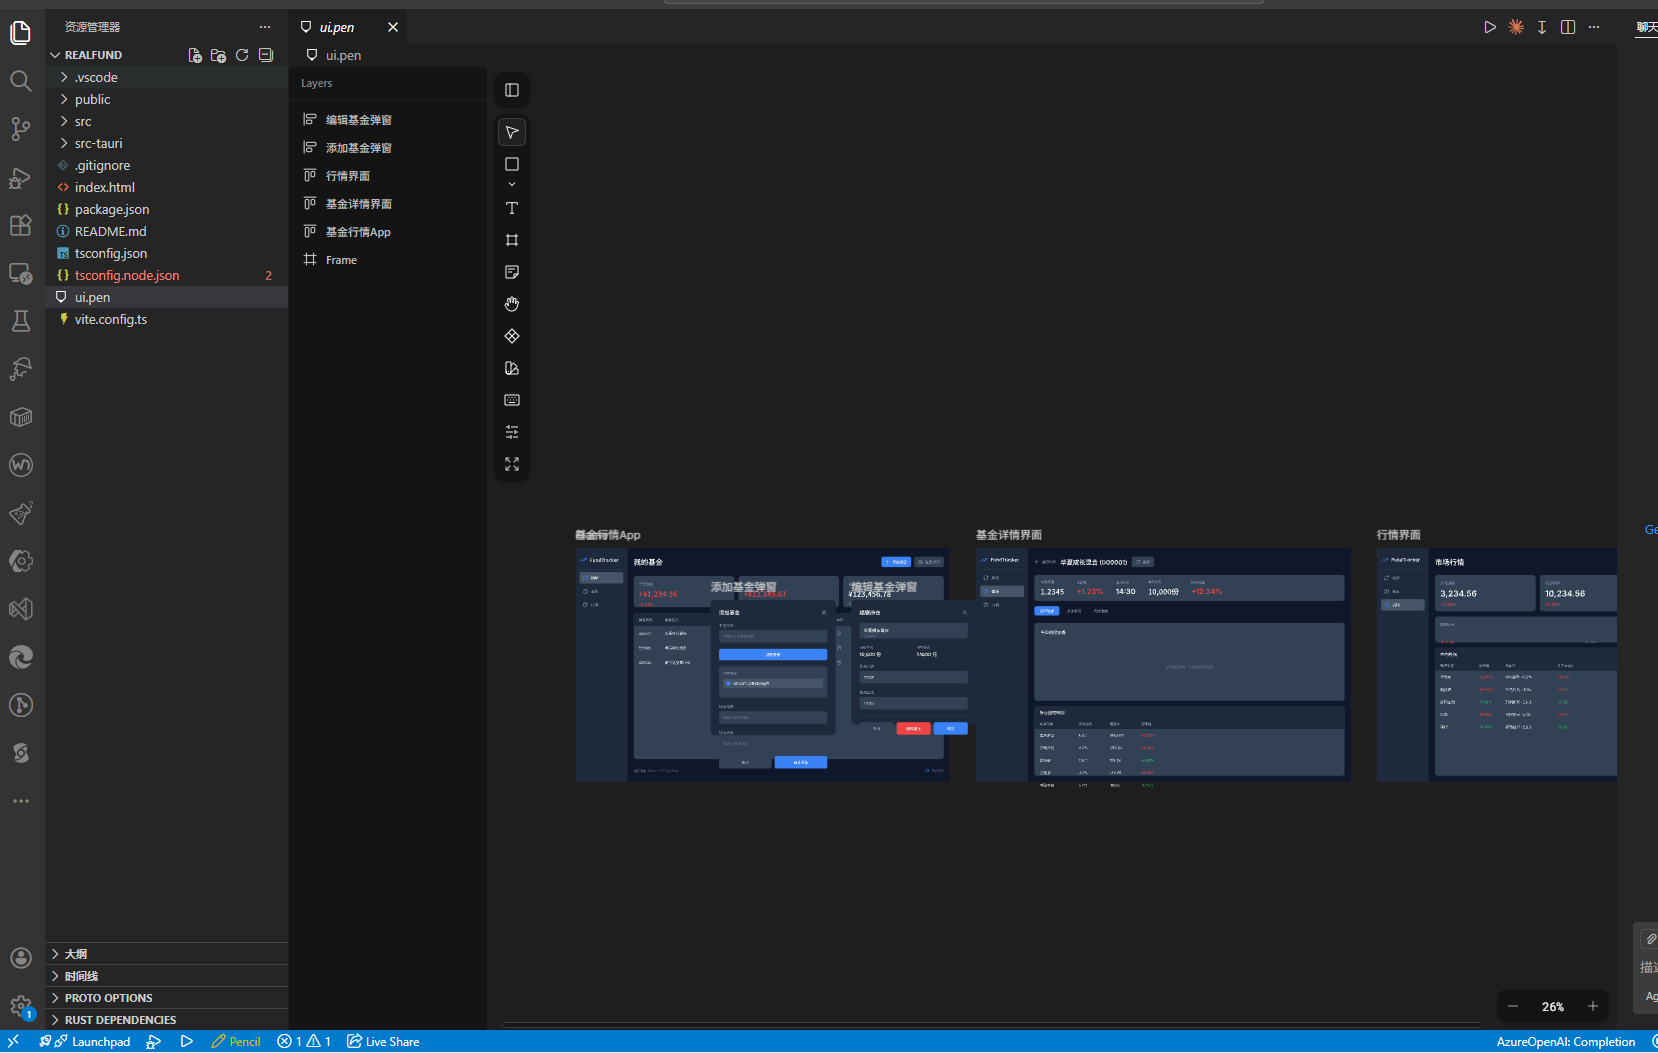
To avoid spending too much time adjusting UI details during interface development, we can use some MCP‑supported UI tool platforms to design the interface in advance with AI. Here we choose Pencil.
Install the Pencil plugin in VS Code, then register an account with your email according to the prompts.
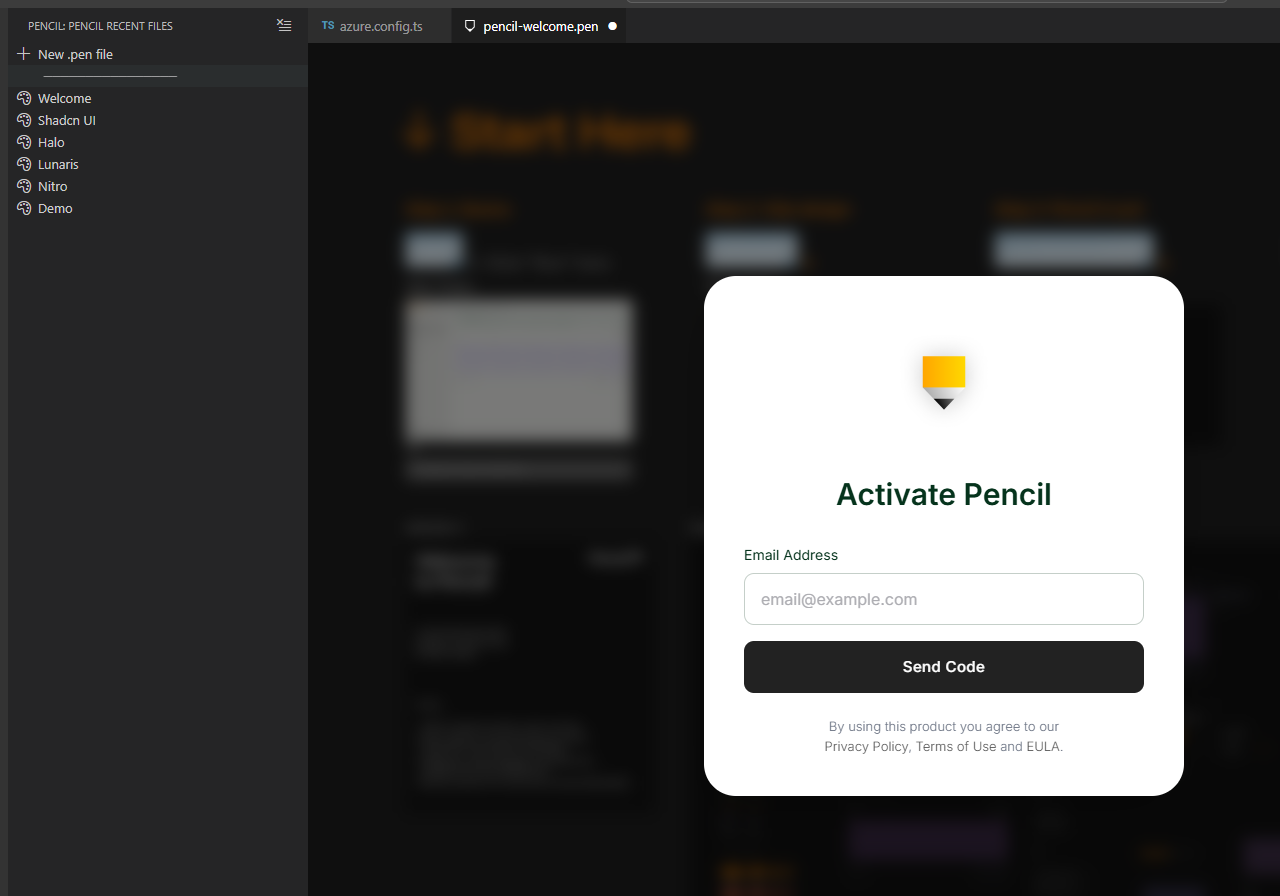
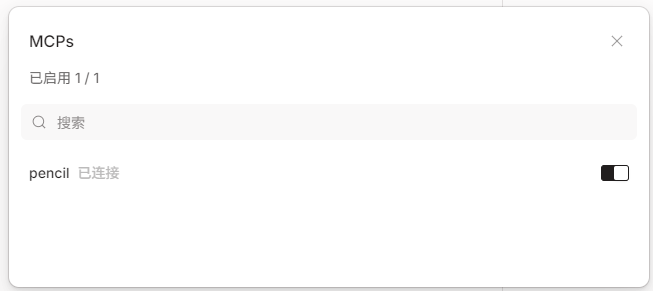
Pencil supports automatic configuration across multiple AI coding tools. You can enable the MCP feature in the extension settings panel.
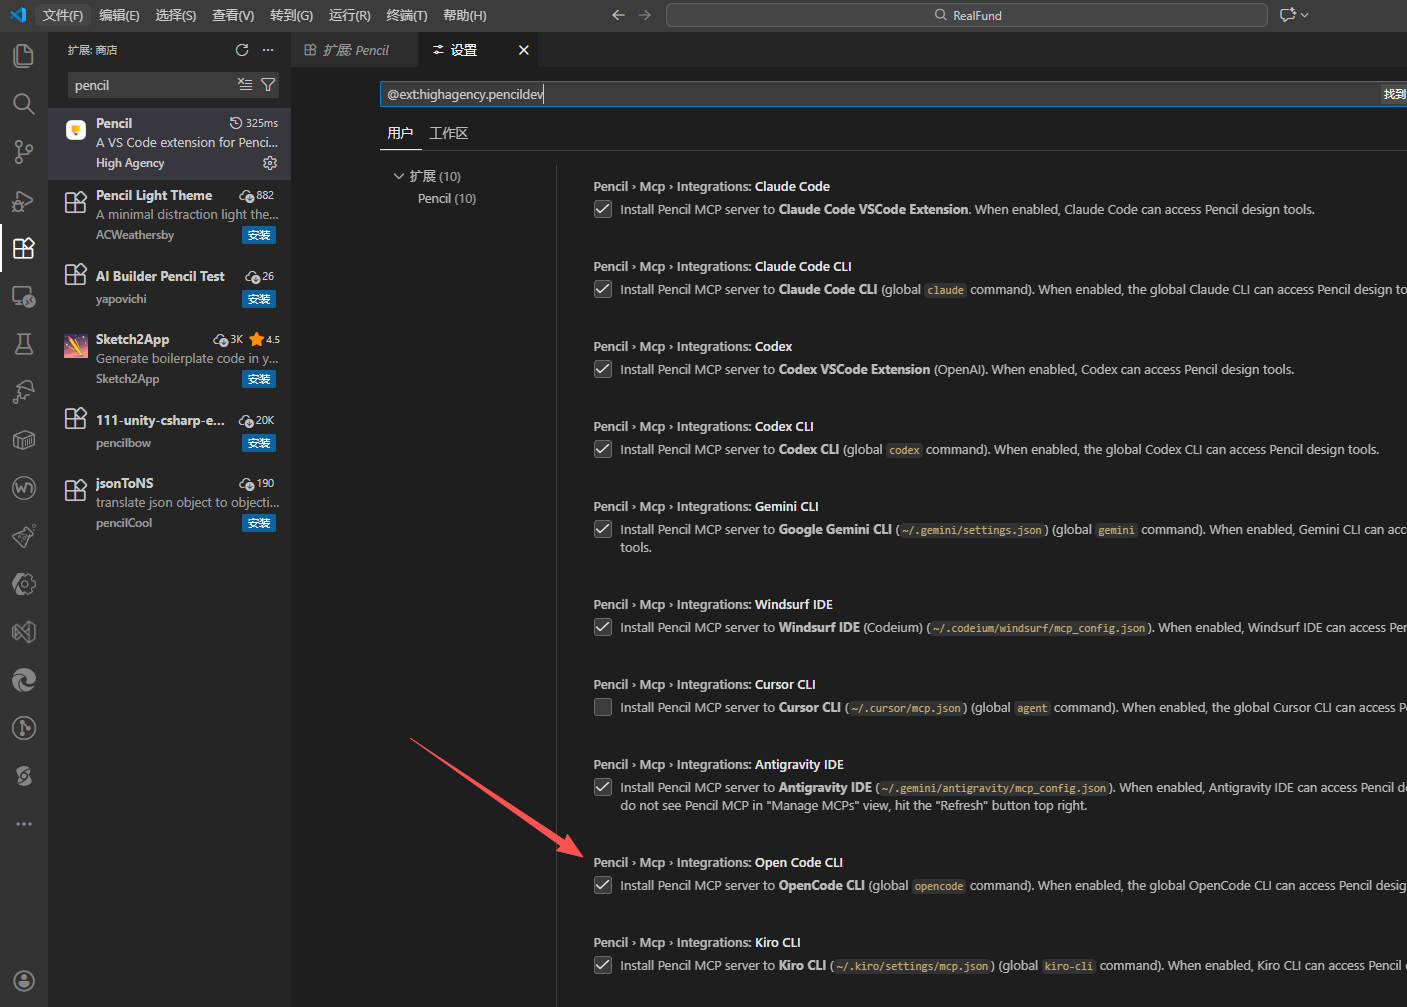
After restarting OpenCode, you will see that it has automatically connected to Pencil’s MCP server.
Copy the requirements listed under “What features do I need”, paste them into OpenCode, switch to Plan mode, then start planning the design and continuously confirm details with the AI.

After confirming the design is correct, switch the mode to Build and begin generating the actual UI.
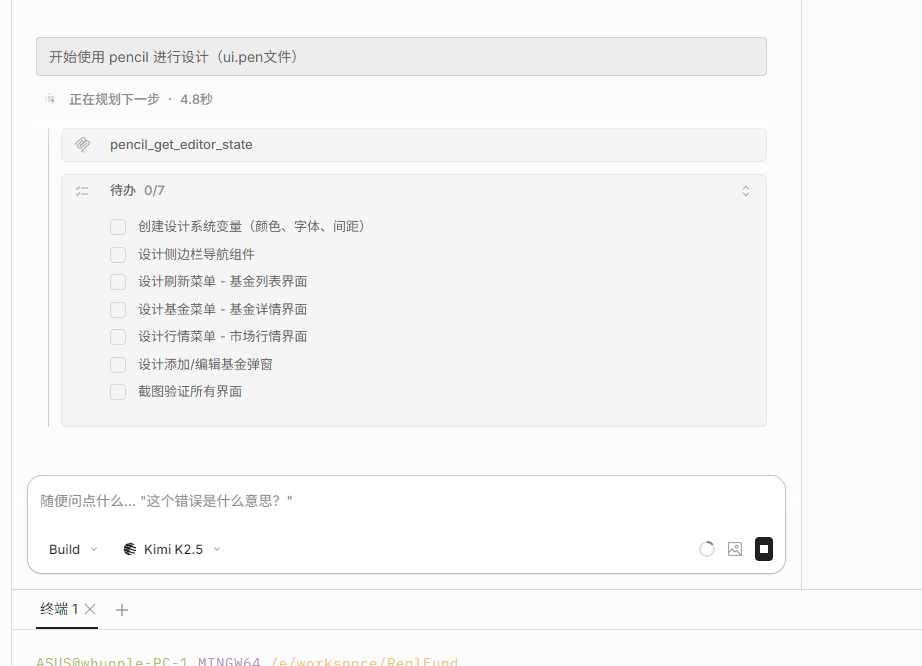
You can preview it inside VS Code.
Understanding OpenSpec
Install OpenSpec.
npm install -g @fission-ai/openspec@latest
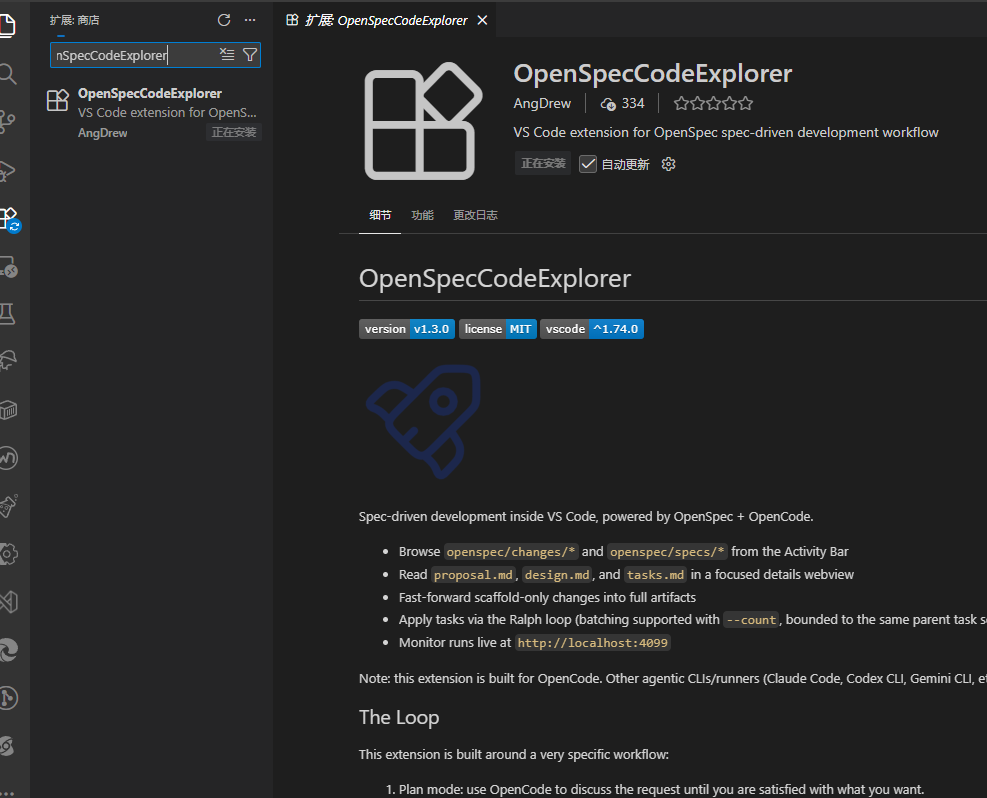
Install the OpenSpecCodeExplorer plugin in VS Code to facilitate maintaining Spec files later.
Run openspec init in the project to initialize OpenSpec files. Bind it to OpenCode. After configuration, restart OpenCode.
Multiple tools can be selected, meaning different tools can be used within the same project.
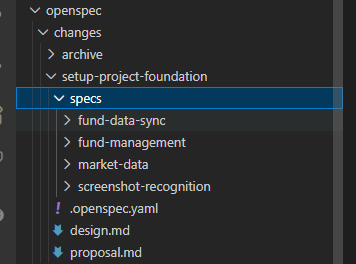
OpenSpec will create a .openspec directory and an AGENTS.md file in the project. During the first initialization, the .openspec structure is simple, but as iterations increase, the directory will become more complex.
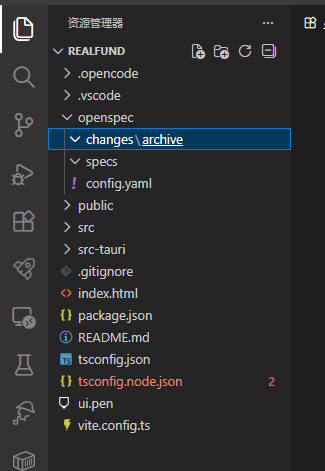
The OpenSpec directory structure is explained as follows:
openspec/
├── AGENTS.md               # AI assistant usage guide (auto-generated)
├── project.md              # Project-specific context (tech stack, coding/project conventions)
├── specs/                  # Authoritative baseline: currently deployed capabilities
│   └── [capability]/       # Example: user authentication, payment processing
│       ├── spec.md         # Requirement description and scenario explanation
│       └── design.md       # (Optional) technical implementation patterns
├── changes/                # Proposal set: active ongoing work
│   ├── [change-name]/      # Example: add Google login
│   │   ├── proposal.md     # Proposal background, core content, and impact analysis
│   │   ├── tasks.md        # Implementation task checklist
│   │   ├── design.md       # (Optional) architecture decision document
│   │   └── specs/          # Incremental specification changes to the baseline
│       └── [capability]/
│           └── spec.md     # Contains ## Added/Modified/Removed requirements
│   └── archive/            # Archived history of completed changes
Because OpenCode is connected, some command files will be generated under .opencode/command.
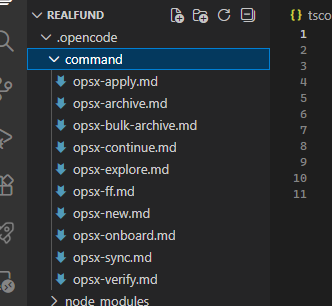
Ordered by development stages, the commands are explained as follows:
| Command | Description |
|------|------|
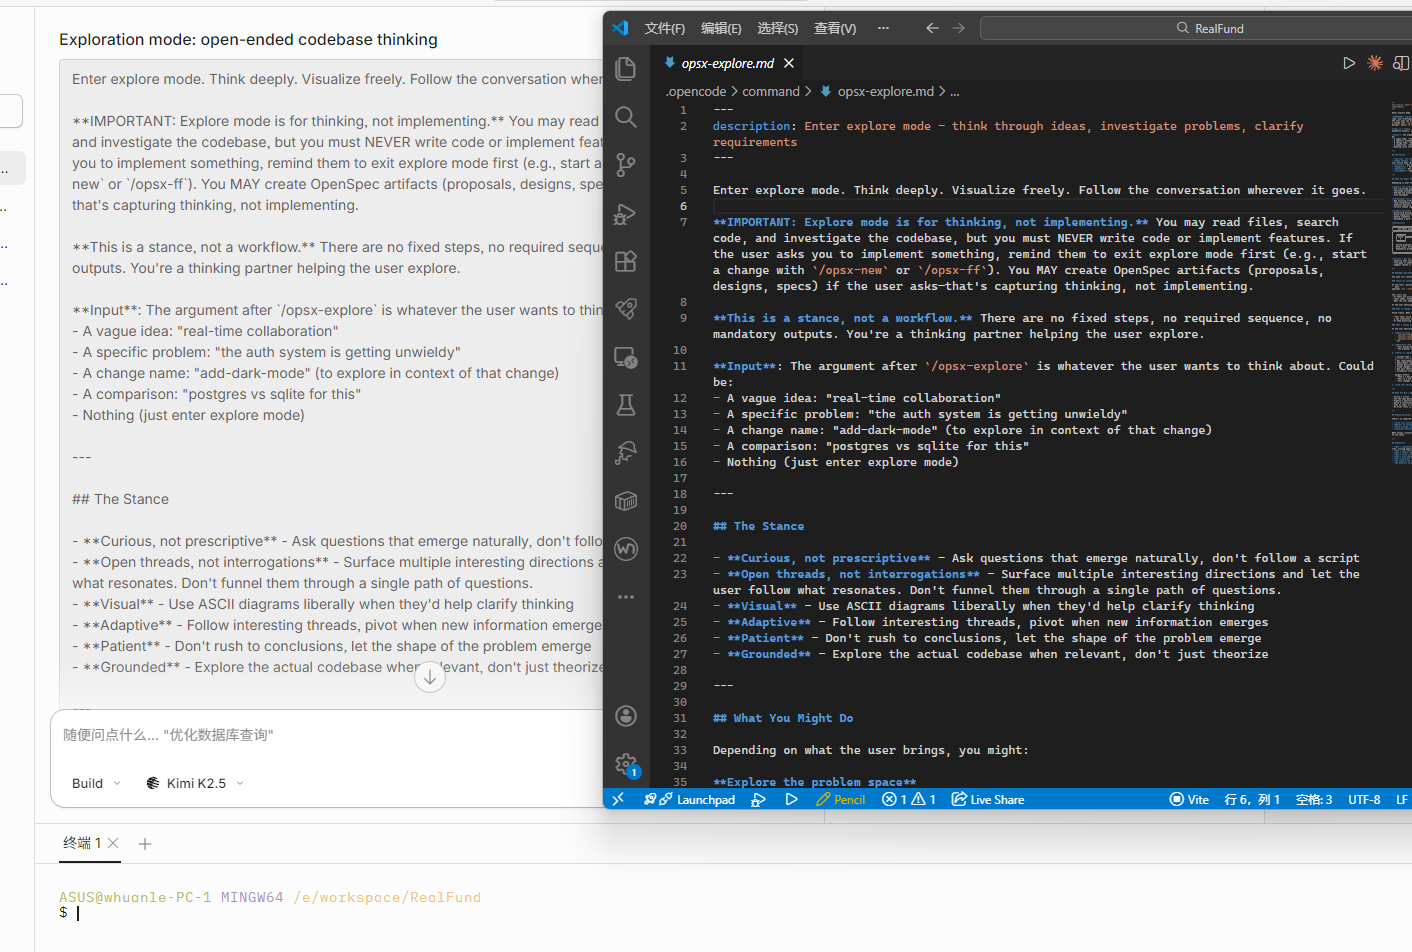
| /opsx:explore | Used for planning. Enter exploration mode to think through ideas, research problems, and clarify requirements. |
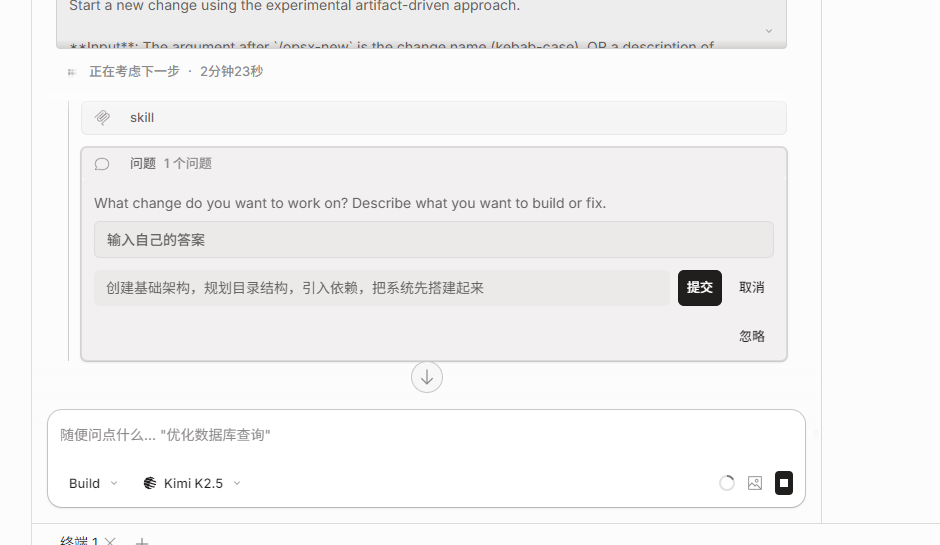
| /opsx:new | Used to create specs. Start a new change operation using the experimental artifact workflow. |
| /opsx:continue | Resume the previous feature and proceed to the next step, continuing the change process. |
| /opsx:ff | Complete all previous steps in one go, generating all files required for implementation. |
| /opsx:apply | Execute the spec and start implementing tasks. |
| /opsx:verify | Acceptance phase. Verify that the implementation matches the change artifacts before archiving. |
| /opsx:sync | Requirements changed—sync updates to spec files. |
| /opsx:archive | Mark work as completed and archive the change. |
| /opsx:bulk-archive | Archive multiple completed changes at once. |
| /opsx:onboard | Start the onboarding workflow. |
/opsx:exploreand/opsx-exploreare equivalent.
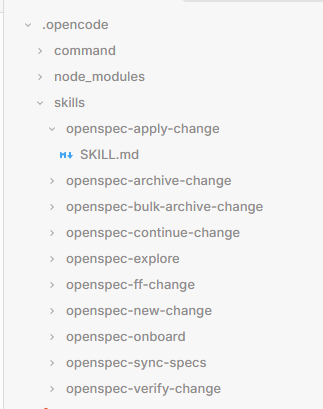
To better understand how OpenSpec works, these commands can be divided into CLI, Command, and Skill.
The /opsx:explore mentioned above is a Command, used when collaborating with AI. You can guide AI to plan and execute Specs through Commands.
The CLI is used for configuration or project management. It has many features, but this article does not use them. Only the usage description is listed here.
| Type | Command | Purpose |
|------|------|------|
| Setup | init, update | Initialize and update OpenSpec in a project |
| Browsing | list, view, show | Explore changes and specs |
| Validation | validate | Check specs and changes for issues |
| Lifecycle | archive | Finalize completed changes |
| Workflow | status, instructions, templates, schemas | Support artifact‑driven workflows |
| Schemas | schema init, schema fork, schema validate, schema which | Create and manage custom workflows |
| Config | config | View and modify settings |
| Utility | feedback, completion | Feedback and shell integration |
Commands guide AI to perform tasks, while Skills tell AI how to do them and what exactly needs to be done.
Experiencing OpenSpec
After completing the preliminary planning and understanding OpenSpec, we now begin the actual process of generating Specs and coding.
OpenSpec enforces a strict three‑phase workflow to prevent requirement drift and ensure that the AI assistant always aligns with human intentions. Therefore, development also proceeds in three steps.
As the saying goes, “A thousand‑mile building starts from the ground up.” The first step in building a project is to create the basic architecture so the program has a basic page structure. Therefore, instead of implementing specific features immediately, we first create a Spec to make the project runnable.
Earlier we wrote “What features do I need”, but this description is not complete. Before AI coding begins, you should carefully think through ideas, investigate problems, and clarify requirements. So this step is similar to OpenCode’s plan mode—first discuss with the AI to gradually clarify details and steps.
Enter the following in the chat box:
/opsx:explore Create project architecture
After
/opsx:explore, the topic can be omitted, or the content of “What features do I need” can be placed directly after it. This command is flexible.
In fact, the essence of an OpenSpec Command is simply a prompt. When you send /opsx-explore Create project architecture, the content of the opsx-explore.md file is actually used as the prompt.
Then paste the content of “What features do I need” into the chat box and let the AI help convert your ideas into concrete requirement descriptions. During the conversation, you can continue discussing details with the AI, clarifying goals and confirming the architecture plan before moving to the next stage.
Common question: What if the conversation becomes too long and you need to start a new one?
Because many prompts, Spec files, and code need to be loaded, the token usage may explode in later conversations. To reduce token consumption and maintain performance, you may need to start a new chat—but you may worry about losing context.
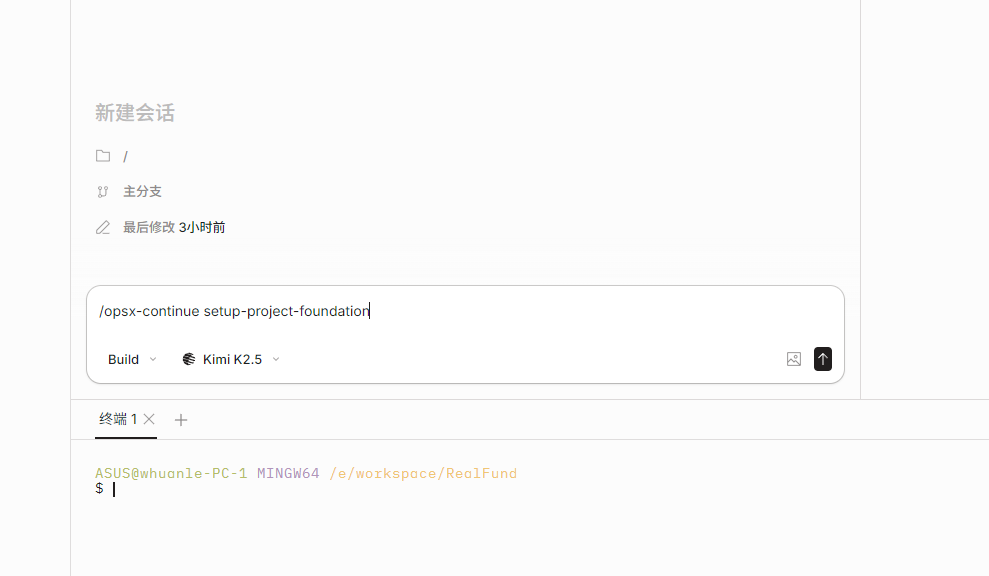
When performing tasks with OpenSpec, since each feature exists in the openspec/changes directory and task progress is marked in tasks.md, you can resume a feature simply by specifying it when executing the command. It will automatically restore the work context. For example:
/opsx-continue [change-name]
Phase 1: Create Change (Proposal)
A “change” refers to modifications required for existing requirements and code.
A “proposal” refers to introducing a new feature.
In this phase, OpenSpec requires agreement on “what to do” and “why to do it” before investing resources into “how to do it.”
Tasks performed in this phase (more precisely, tasks OpenSpec performs):
- Identify requirements: new features, refactoring, or architectural shifts.
- Scaffolding: create a unique directory under
openspec/changes/<change-id>/. - Define specifications: write incremental specs (add, modify, delete) for related capabilities.
- Planning: create a
tasks.mdfile to break work into verifiable steps.
。
5.
Validation (Acceptance): Use openspec validation to ensure the proposal is structurally sound.
Run the command to start creating a Spec:
/opsx-new
# or
/opsx-new {feature-name}
A Spec cannot be created all at once. It must be created step by step according to the process, and finally combined into a complete Spec. Each part of the Spec consists of several files, and later the AI will complete coding tasks according to these files.
[ ] proposal
[ ] design
[ ] specs
[ ] tasks
You can use /opsx-continue to enter the next stage, or follow the author's approach by entering text instructions to let the AI automatically move to the next step.
First create the proposal:
Describe the content of this change, and I will help you draft proposal.md
Or enter
/opsx-continueto automatically proceed to this step.
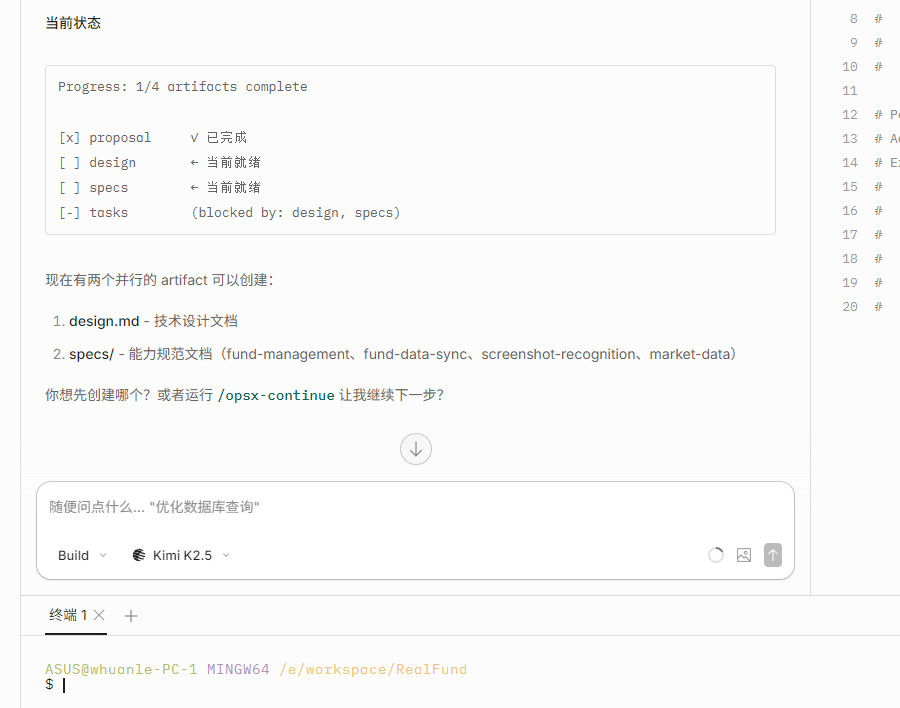
design and specs can be worked on in parallel, so you can enter:
Create design and specs at the same time
After the AI completes the task, a batch of files will be created under openspec/changes/{feature-name}.
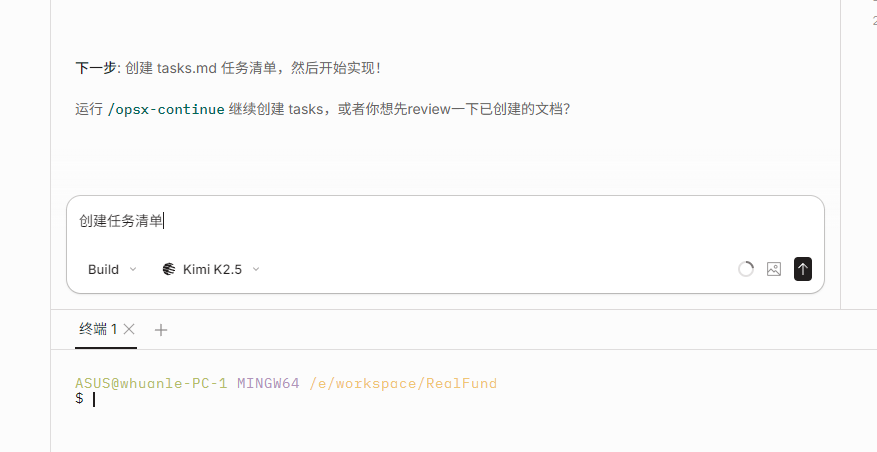
当前阶段最后一步创建任务清单,规划每个环节要做的步骤和目的、验收标准。
Create a task list
Do not rush into the second stage. The author recommends carefully studying the files under the openspec/changes directory.
Stage 2: Implementation
This is the coding stage. The AI will execute coding tasks based on the Spec created earlier.
OpenSpec workflow steps:
- Context loading: The AI reads proposal.md and the specifications to understand the requirements.
- Execution: The AI processes tasks.md in order.
- Tracking: Tasks are marked as completed in real time.
As mentioned earlier, if the context becomes too long, you may need to start a new conversation; or if you were lazy and didn't write code today and forgot the progress the next day, you can use /opsx-continue [change-name] to resume progress.
As shown in the figure below, the four steps of the first stage have been completed, and it prompts that the next step is to use /opsx-apply and /opsx-archive to execute coding tasks.
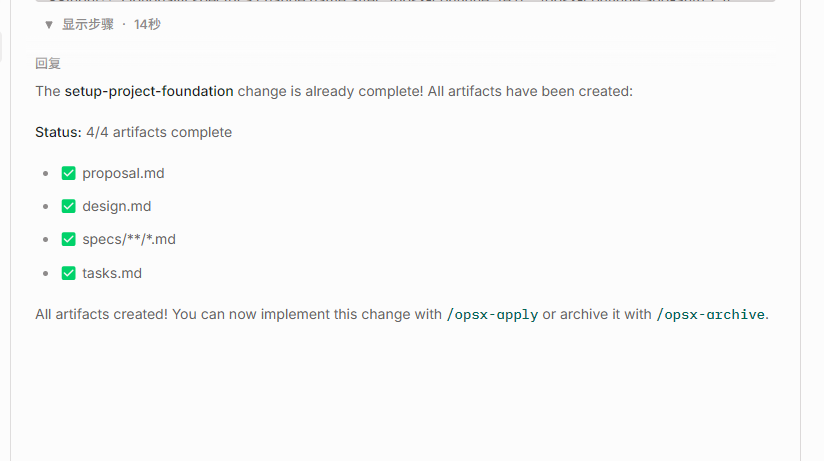
/opsx-apply implements the functionality step by step according to the plan in tasks.md, and no supervision is required during implementation. After the tasks are completed, use /opsx-archive to archive the completed changes.
So first execute /opsx-apply, scroll through Douyin for a while, and after ten or twenty minutes when the task execution finishes.
However, you still cannot archive it directly. You need to run /opsx-verify [change-name] to check completeness, correctness, and consistency. If there are problems, let the AI continue fixing them.
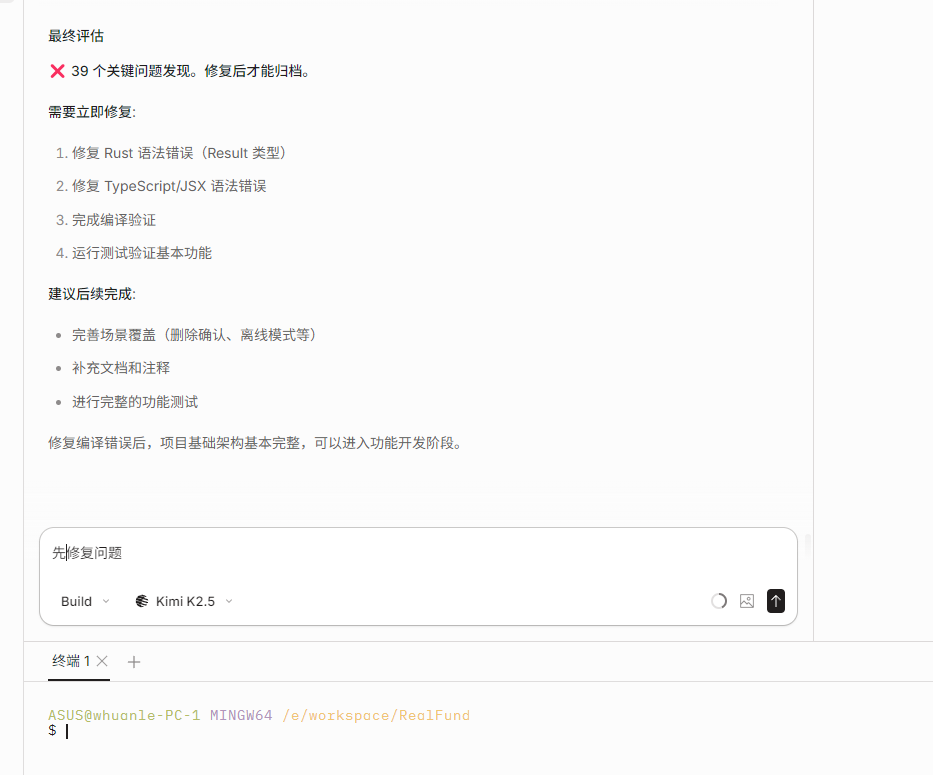
If you find that some parts are not completed well and need adjustments, you can directly ask the AI in the current conversation to improve the design or modify the code. If the changes are relatively large and involve logic or design modifications, then you need to use /opsx-sync to synchronize the changes into changes.
Stage 3: Archive (Integration)
In this step, use /opsx-archive to archive the completed changes, which means marking that this feature has been finished.
Once the code is deployed and verified, the change proposal is no longer a “proposal” but real code. To reduce the cost of later retrieval, OpenSpec performs some operations.
- Archive command: Run
openspec archive <change-id>to move the change folder toopenspec/changes/archive/. - Specification merge: The CLI automatically applies specification increments (ADDED/MODIFIED requirements) to the
openspec/specs/directory.
Since OpenSpec has no data and does not store a database, it mainly determines the working state based on directory files. If the files are not organized, it will cause many unnecessary files to be read during retrieval.
openspec/specs stores files and information such as the current architecture and functional descriptions of the program, so every time a Spec is completed, the files here need to be updated.
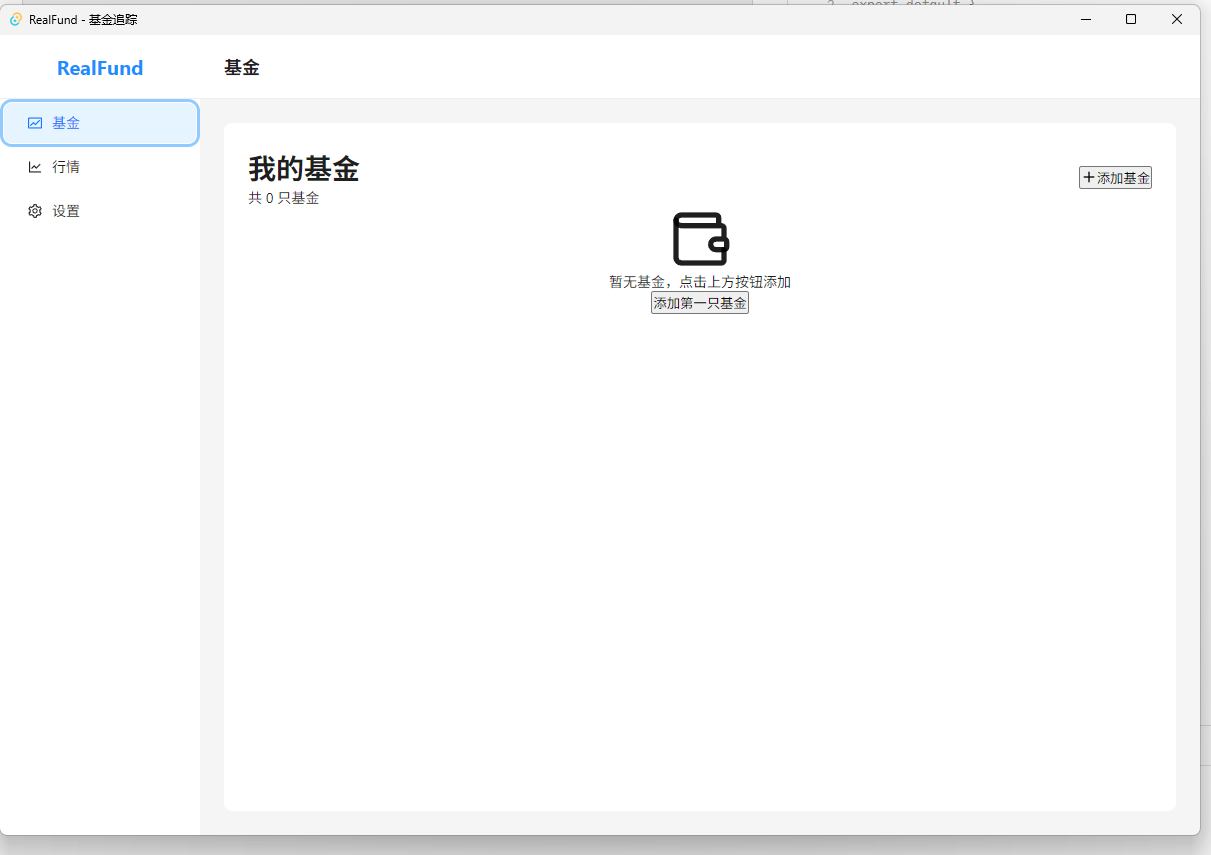
After setting up the basic architecture, the interface looks quite ugly. I forgot to introduce the ant design framework, and also forgot to follow the pencli design process. But it's not a big problem—later we can create a new Spec specifically for optimization. Of course, you can also continue improving some basic functions first and then archive.
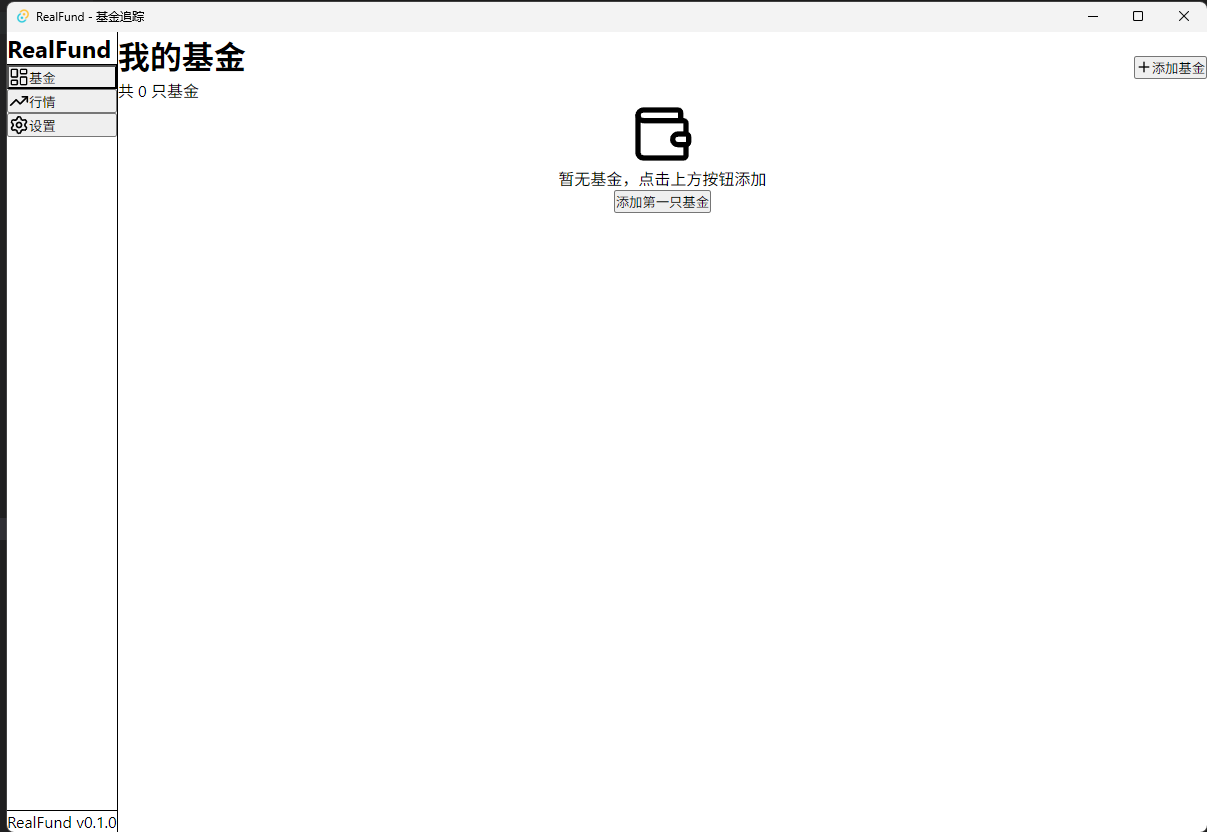
Currently the interface only has a basic skeleton, and the functionality is still unusable. We can open a new change and add features module by module. Do not put too many things into a single change; move in small steps and accumulate gradually.
Next, we can continue using /opsx-expore or /opsx-new to gradually implement other features.
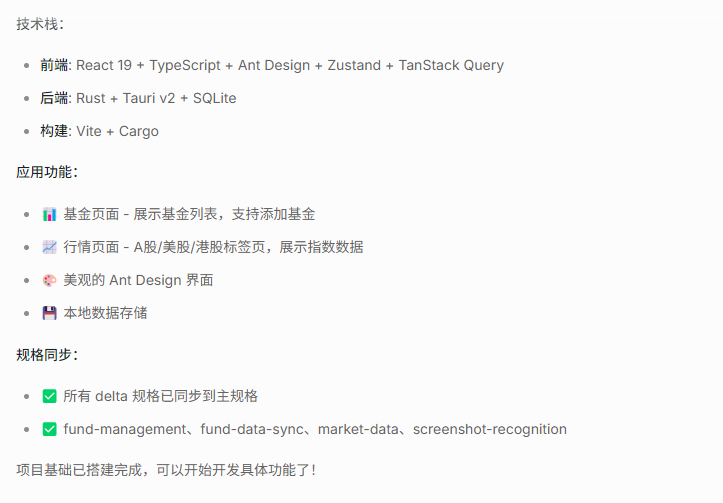
Currently, this project still needs to implement:
- Implement the interface according to the pencli design mockups
- Fund management functionality
- Fund information viewing functionality
- Market行情 functionality
You can create Specs one by one and gradually implement the features.

文章评论