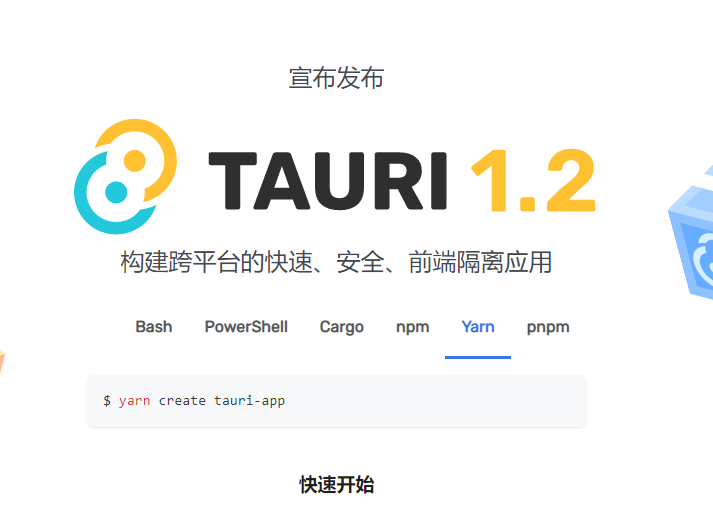
Tauri 是一款应用构建工具包,让您能够为使用 Web 技术的所有主流桌面操作系统构建软件。

Tauri 可以构建跨平台的快速、安全、前端隔离应用,Tauri 支持多种创建项目模板的方式:
安装开发环境
Tauri 支持使用 Windows、Linux、Mac 系统进行开发,笔者将介绍在 Windows 下如何开发。
首先需要安装 C++ core desktop features 组件,到这里可以下载:
接着安装 Windows SDK,下载地址:https://developer.microsoft.com/en-us/windows/downloads/sdk-archive/
然后安装 WebView2,下载地址:https://developer.microsoft.com/zh-cn/microsoft-edge/webview2/#download-section
最后,需要安装 Rust,到官网下载安装:https://www.rust-lang.org/tools/install
或使用 Powershell 指令安装:
winget install --id Rustlang.Rustup需要开飞机,否则好慢。
安装完成后,开始创建前端项目。
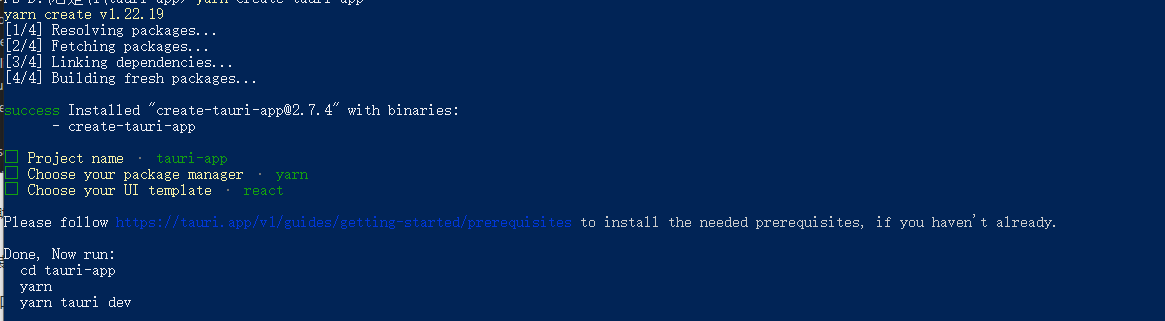
例如笔者使用 React 开发,则:
yarn create tauri-app当然,还有其它方式创建前端项目,参考官方文档即可。
开发
创建完成后,执行命令启动项目:
  cd tauri-app
  yarn
  yarn tauri dev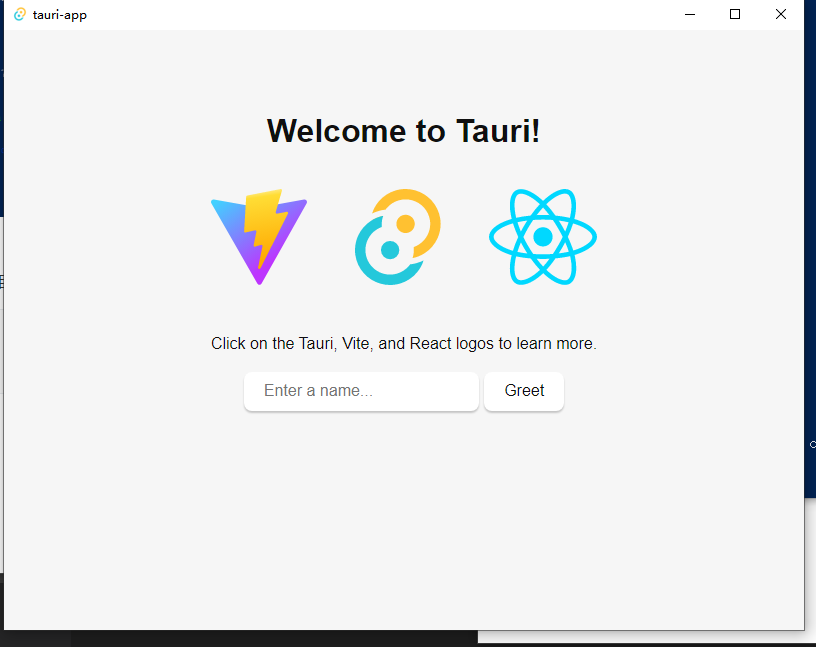
如果要从 JS 调用 Rust 函数,也很简单。
首先安装 tauri cli:
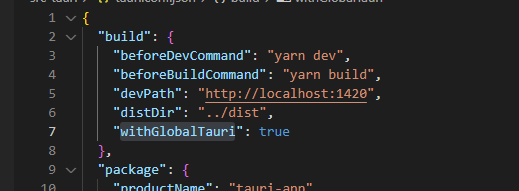
yarn add -D @tauri-apps/cli然后打开 tauri.conf.json,将 withGlobalTauri 的值设置为 true。
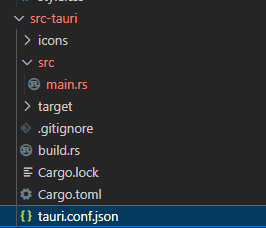
然后打开 main.rs 文件,可以看到以下内容:
#![cfg_attr(
    all(not(debug_assertions), target_os = "windows"),
    windows_subsystem = "windows"
)]

// Learn more about Tauri commands at https://tauri.app/v1/guides/features/command
#[tauri::command]
fn greet(name: &str) -> String {
    format!("Hello, {}! You've been greeted from Rust!", name)
}

fn main() {
    tauri::Builder::default()
        .invoke_handler(tauri::generate_handler![greet])
        .run(tauri::generate_context!())
        .expect("error while running tauri application");
}
默认的文件中,已经对 JS 提供了一个函数:
#[tauri::command]
fn greet(name: &str) -> String {
    format!("Hello, {}! You've been greeted from Rust!", name)
}
#[tauri::command] 宏定义了对 JS 暴露这个函数。
然后在 main 函数中,注册了这个宏:
.invoke_handler(tauri::generate_handler![greet])接着,我们在 index.html 中,编写 js 代码,使用这个 Rust 的函数:
    <script>
      // 访问已打包好的全局 API 函数
      const { invoke } = window.__TAURI__.tauri

      // 现在我们可以调用指令了!
      // 在应用窗口中右键,打开开发者工具
      // 你会看到控制台上输出了 "Hello, World!"!
      invoke('greet', { name: 'World' })
        // <code>invoke</code> 将返回一个 Promise
        .then((response) => console.log(response))
    </script>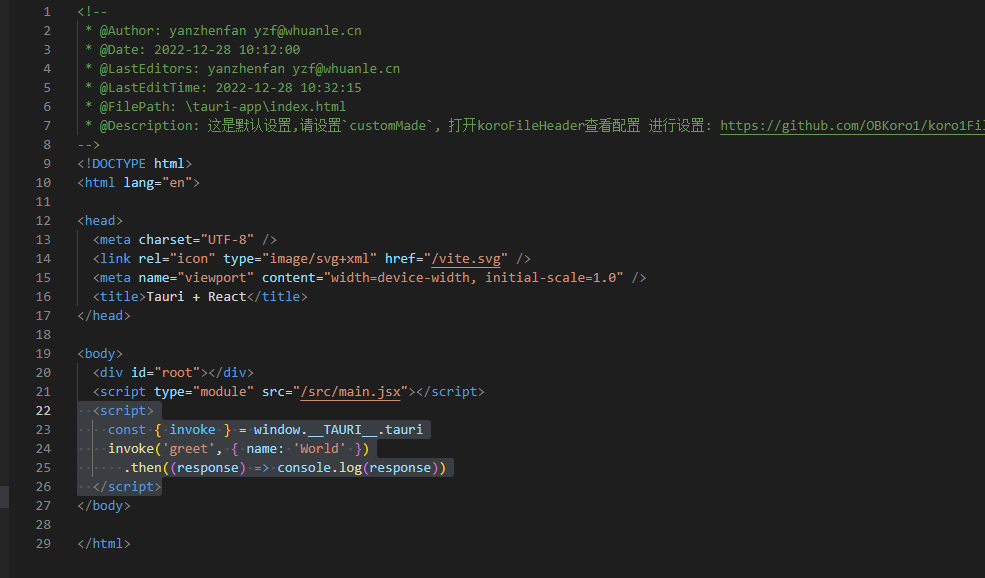
重新启动客户端,按下 F12,在控制台中可以看到:

例如,再定义一个函数:
#[tauri::command]
fn myfunc(name: &str) -> String {
    format!("Hello, {}! 这是工良的教程", name)
}
注册:
    tauri::Builder::default()
        .invoke_handler(tauri::generate_handler![greet,myfunc])
        .run(tauri::generate_context!())
        .expect("error while running tauri application");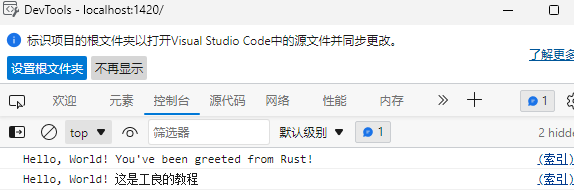
打包
首先打开 tauri.conf.json,按照以下路径,修改包的名称。
> tauri > bundle > identifier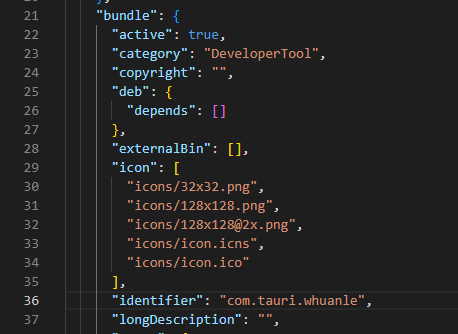
一定不能设置中文。
在 Windows 上,依赖 WebView2,其中 Tauri 支持打包方式有以下几种。
| 是否需要联网 | 附加安装包大小 | 备注 | |
|---|---|---|---|
downloadBootstrapper |
是 | 0MB | Default Results in a smaller installer size, but is not recommended for Windows 7 deployment. |
embedBootstrapper |
是 | ~1.8MB | Better support on Windows 7. |
offlineInstaller |
否 | ~127MB | Embeds Webview2 installer. Recommended for offline environments |
fixedVersion |
否 | ~180MB | Embeds a fixed Webview2 version |
skip |
否 | 0MB | ⚠️ Not recommended Does not install the Webview2 as part of the Windows Installer. |
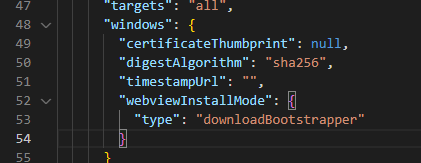
这里我们选择第一种方式:
      "windows": {
        "certificateThumbprint": null,
        "digestAlgorithm": "sha256",
        "timestampUrl": "",
        "webviewInstallMode": {
          "type": "downloadBootstrapper"
        }
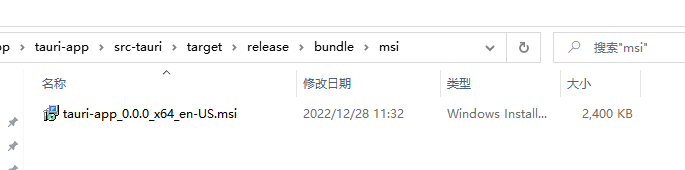
然后执行打包命令:
yarn build
yarn tauri build
接着会出现漫长的打包过程。

没想到,小小的安装包,还自带了安装界面。
pake
pake 是基于 tauri 编写的一个工具,用于将网页打包成一个客户端。
// 使用 npm 进行安装
npm install -g pake-cli

// 命令使用
pake url [options]

// 示例
pake https://www.whuanle.cn --name 工良 --transparent
但是我打包失败了

文章评论
博主,你打包失败是为什么现在知道吗
@Toktik pake 版本和 tauri 版本的原因,不过现在 pake 支持比较好了。
博主你好, 请问使用tauri方式封装,相比webview封装有什么性能上的优势吗?
@Tiktok 使用方式不一样,tarui 的 rust 跟 js/ts 互调非常舒服,屏蔽了 webview2 调用的一层,开发者不需要关注这种,但本质还是要使用 webview2 的技术。
不错
失败了,
@蓝总创 再接再厉